AUTHENTIC-AIRLINERS PROFESSIONAL RESIN KITS AIRLINERS.DE
HOME TIPS AND HINTS 747
THE 747
Start with the left wing MLG.
The first pic shows all required parts
as they come from the molding company.
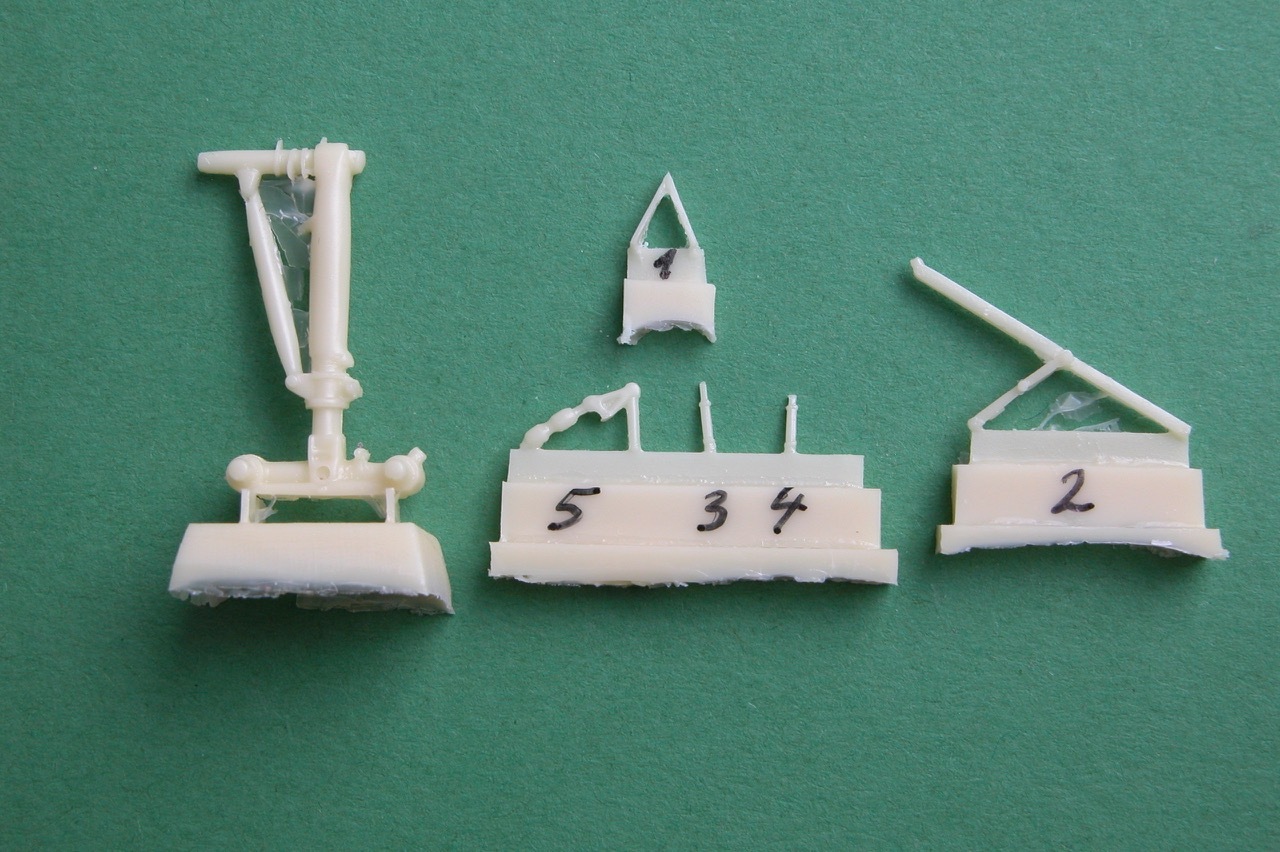
Firstly, you have to cut them off the base and remove all residual resin.
On the next 2 pics, you see how to add parts 3 and 4 to part 2 in sequence.
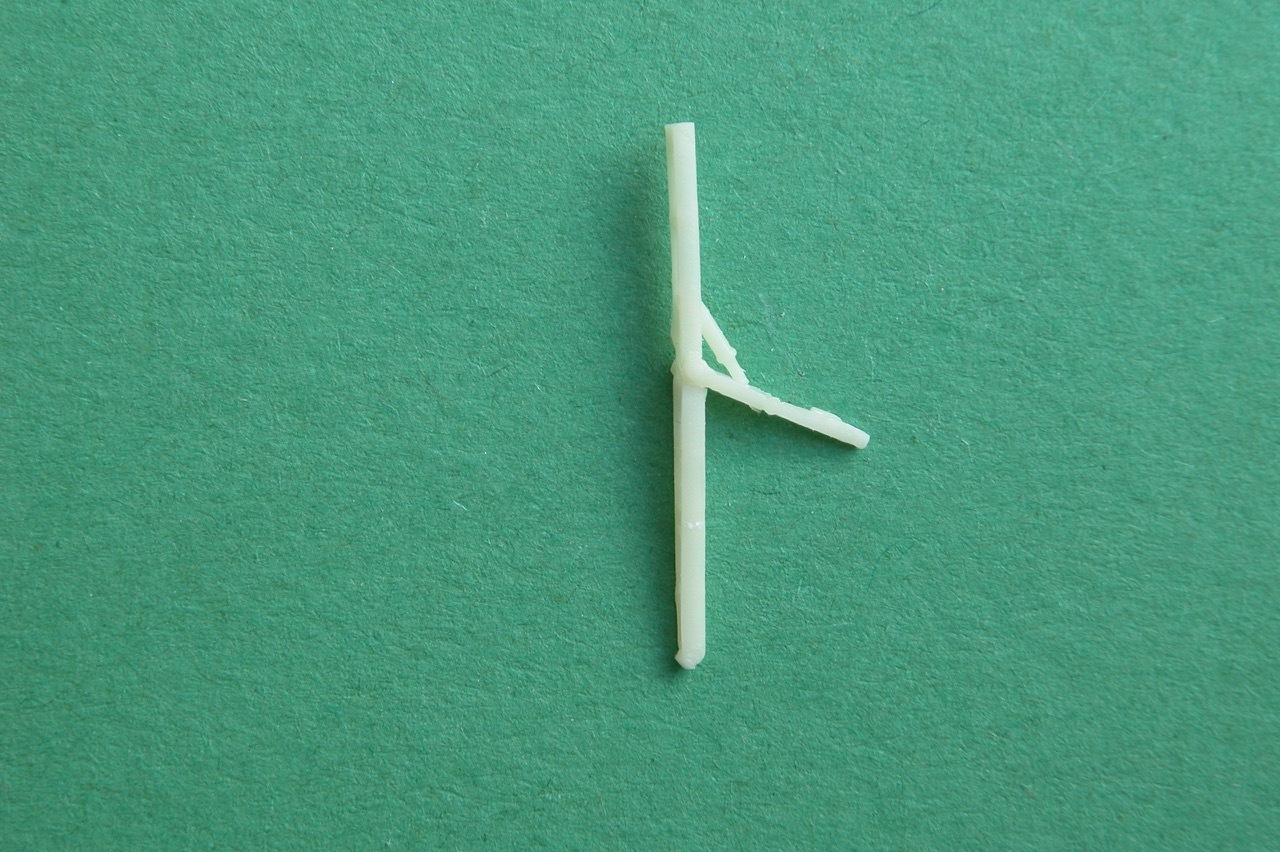
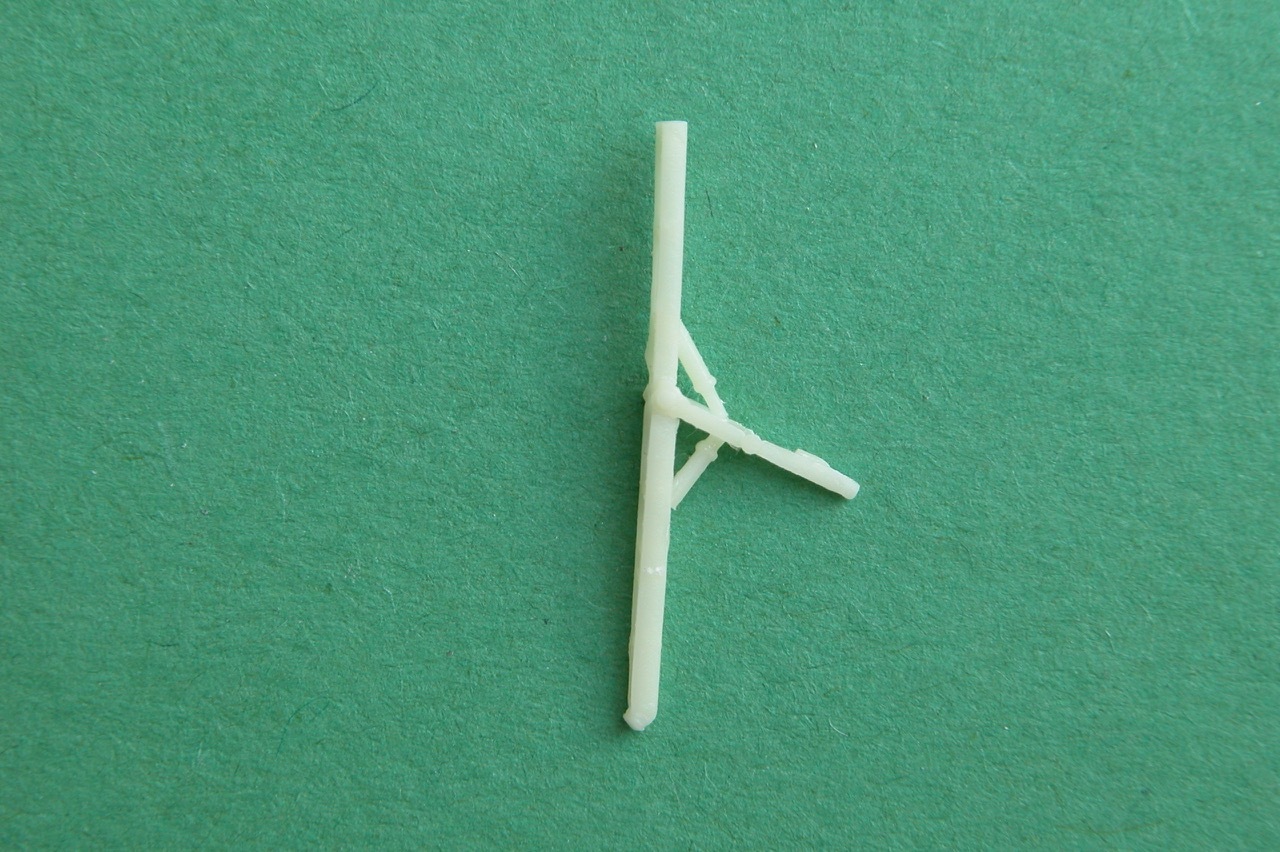
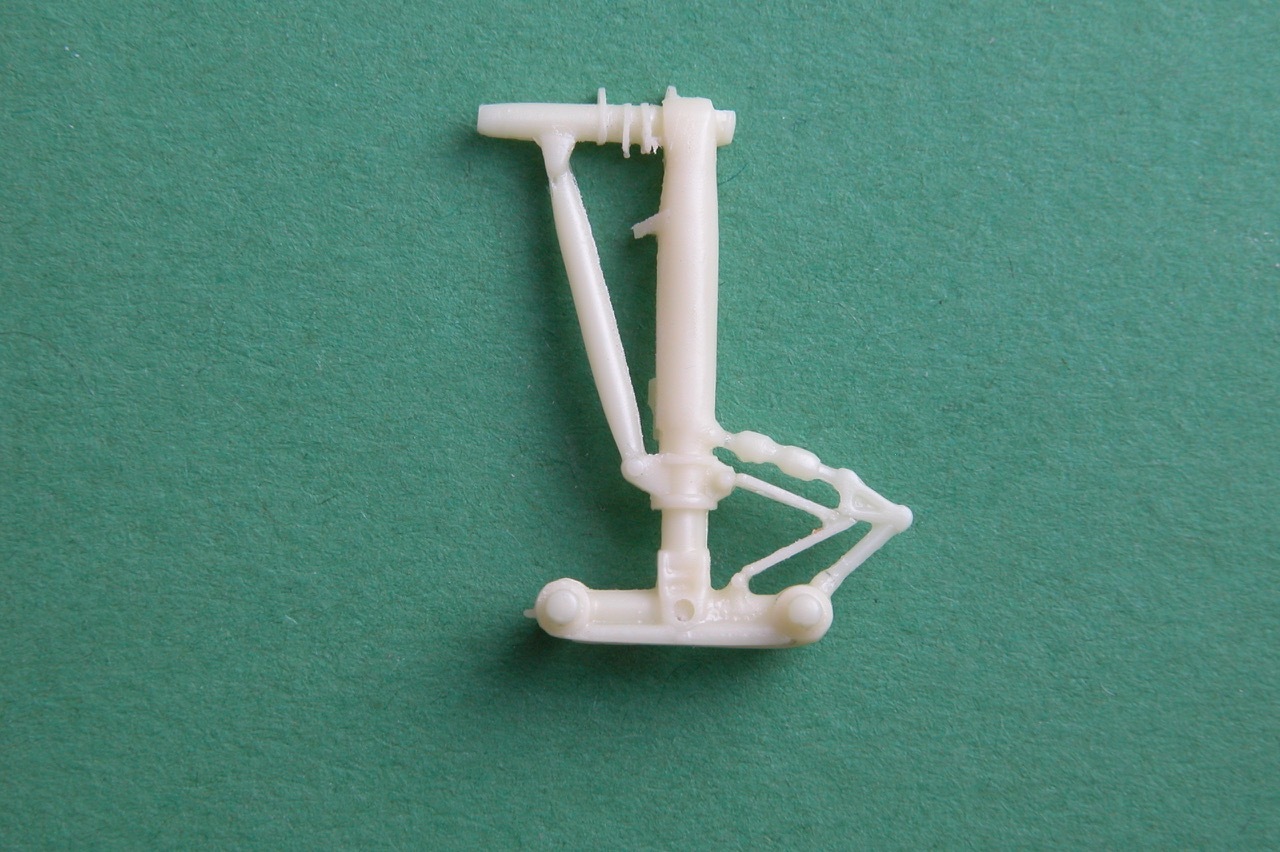
Next you see how to assemble parts 1 and 5.
Part 1 shall be inserted first with the 2 holes facing upwards.
You`ll know what I mean once you have the parts in your hands.
Finally, you add the formerly completed part 2 to the main strut.
Now, I will continue with the left center gear.
Here are the parts required to build it.
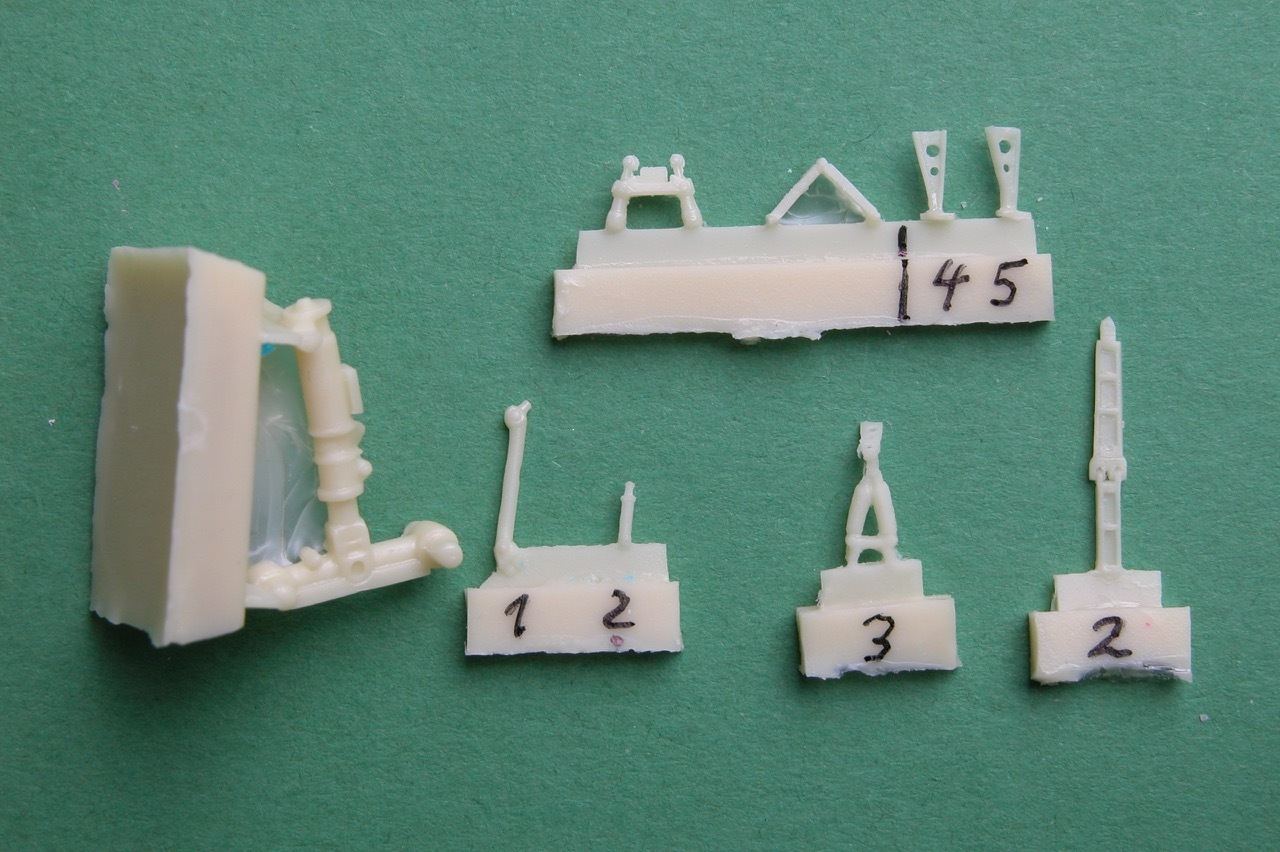
After removing the main part from the casting molding assemble part 1
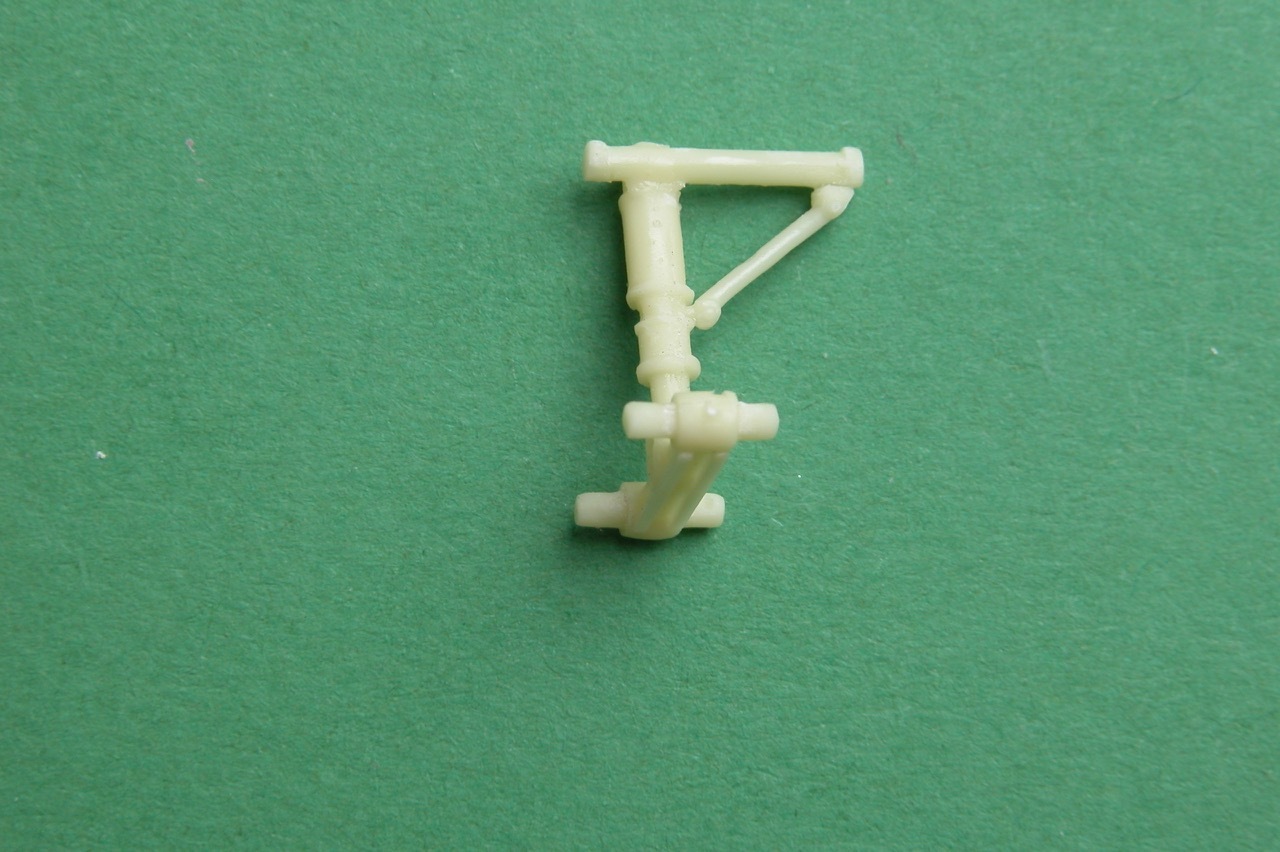
Now add part 4 (part 5 is for the right gear) and on top part 3
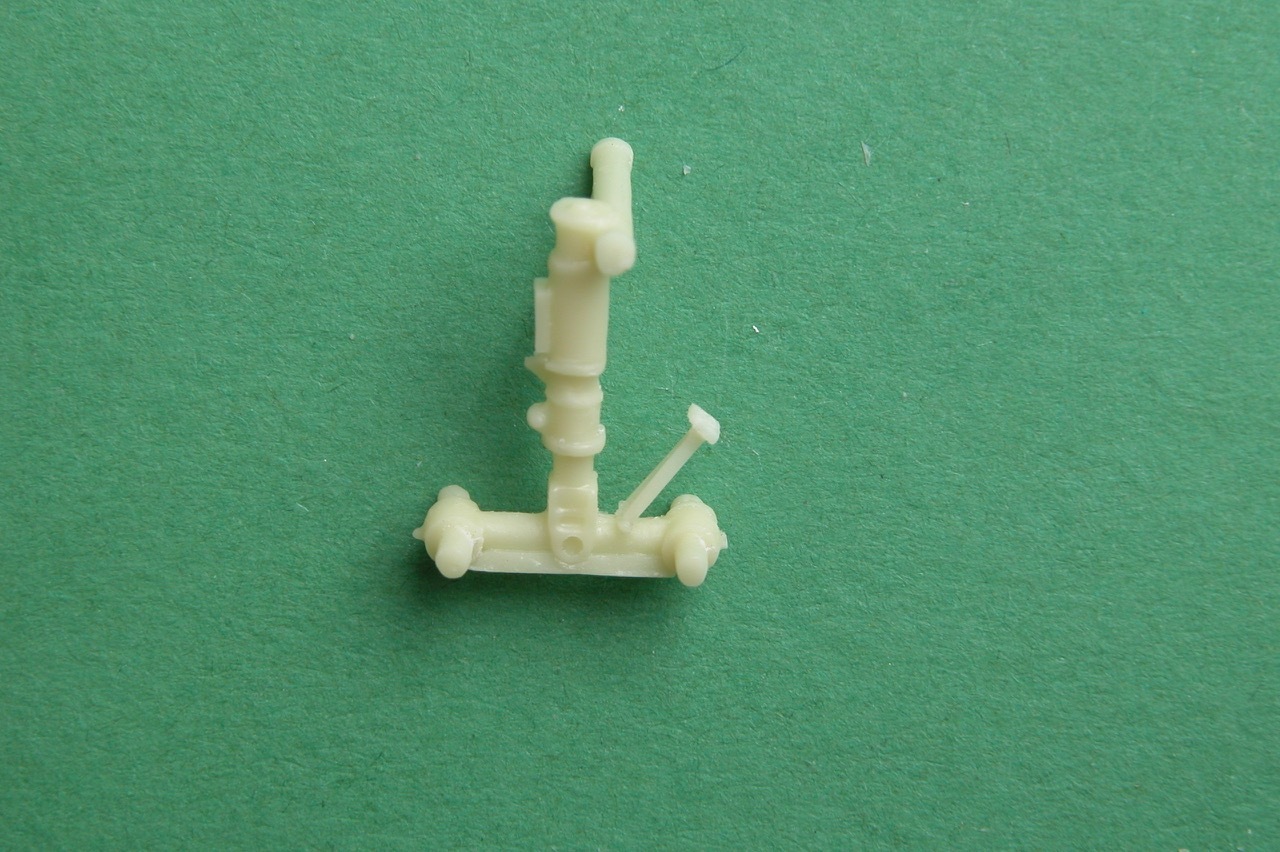
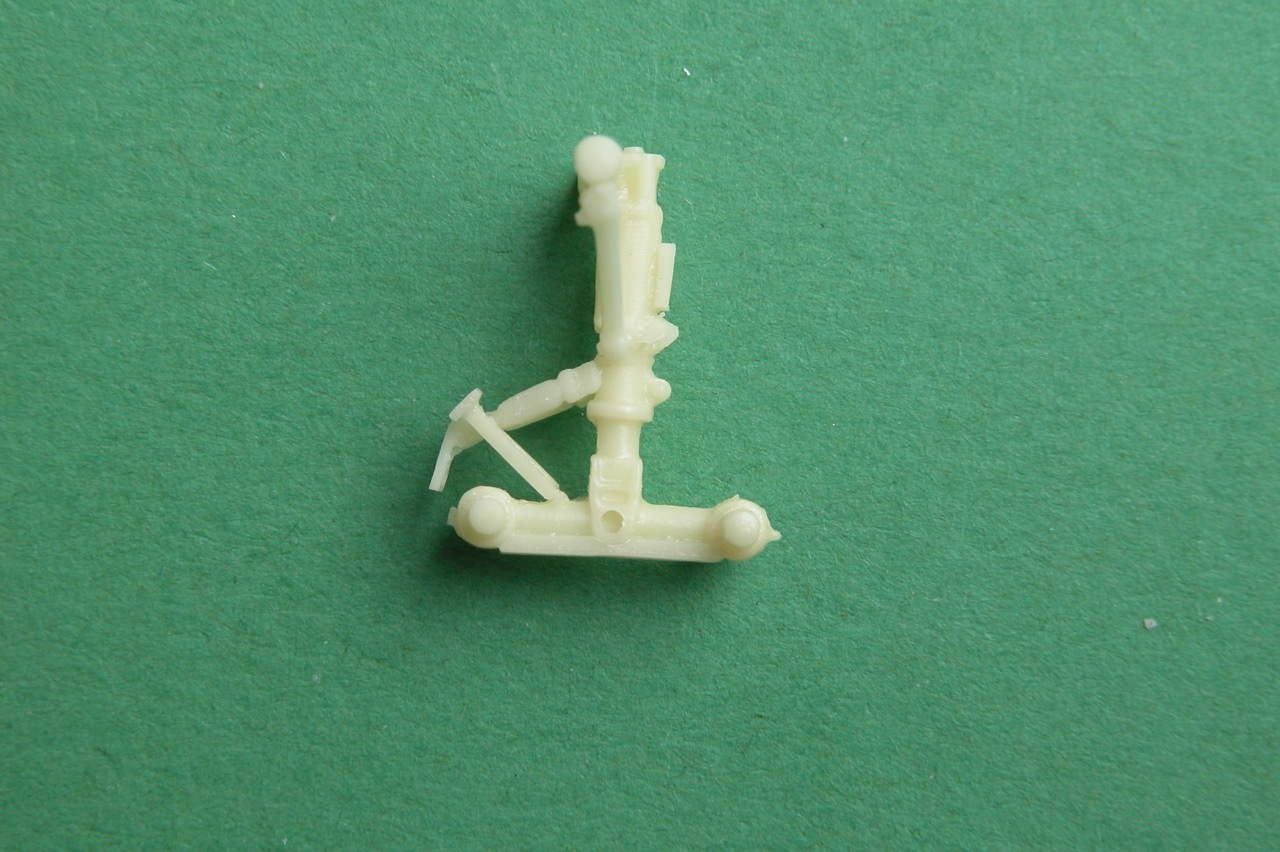
Then join the small part marked with the question mark.
To be honest, while taking the pics for preparing these informations,
I did not remember myself what this piece was good for,
so I marked it accordingly.
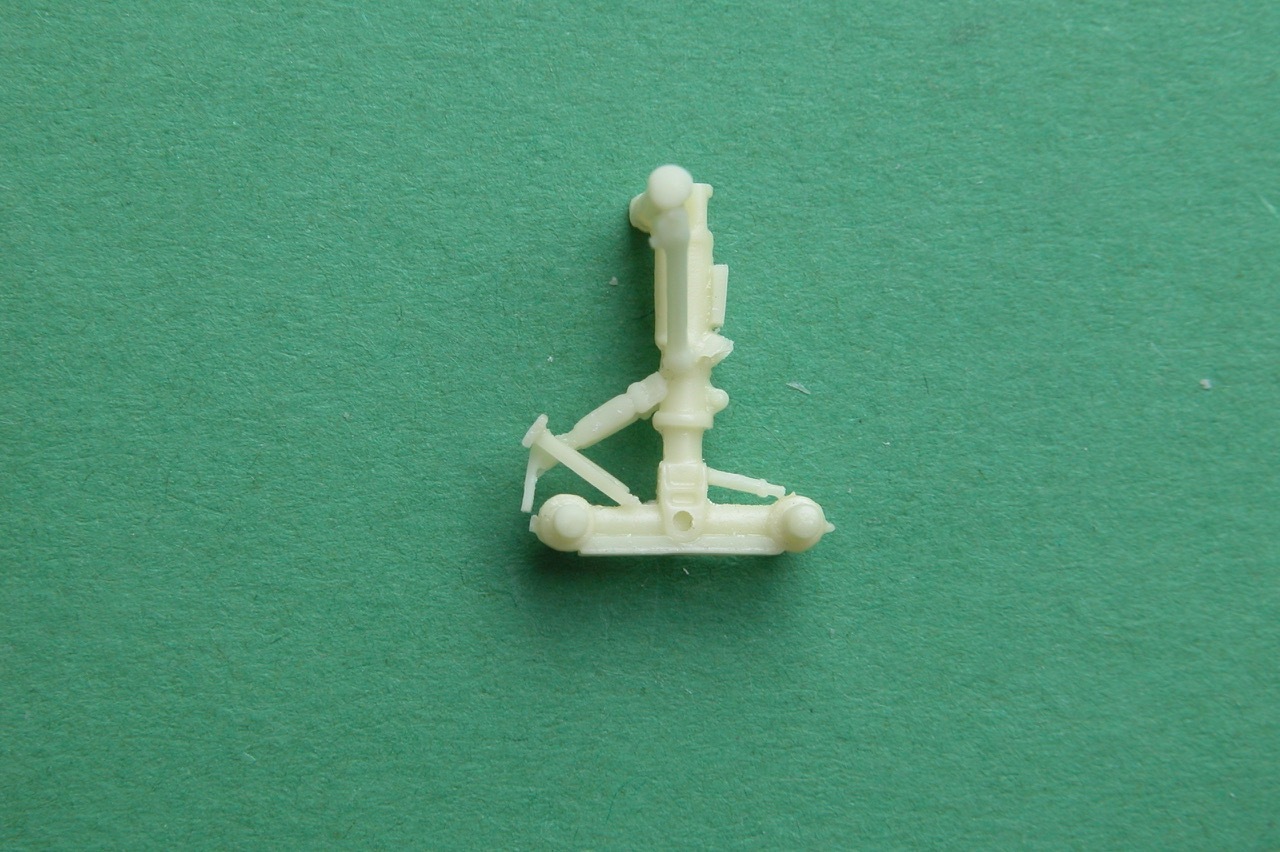
The next 2 pics hopefully show you were and how to assemble part 2.
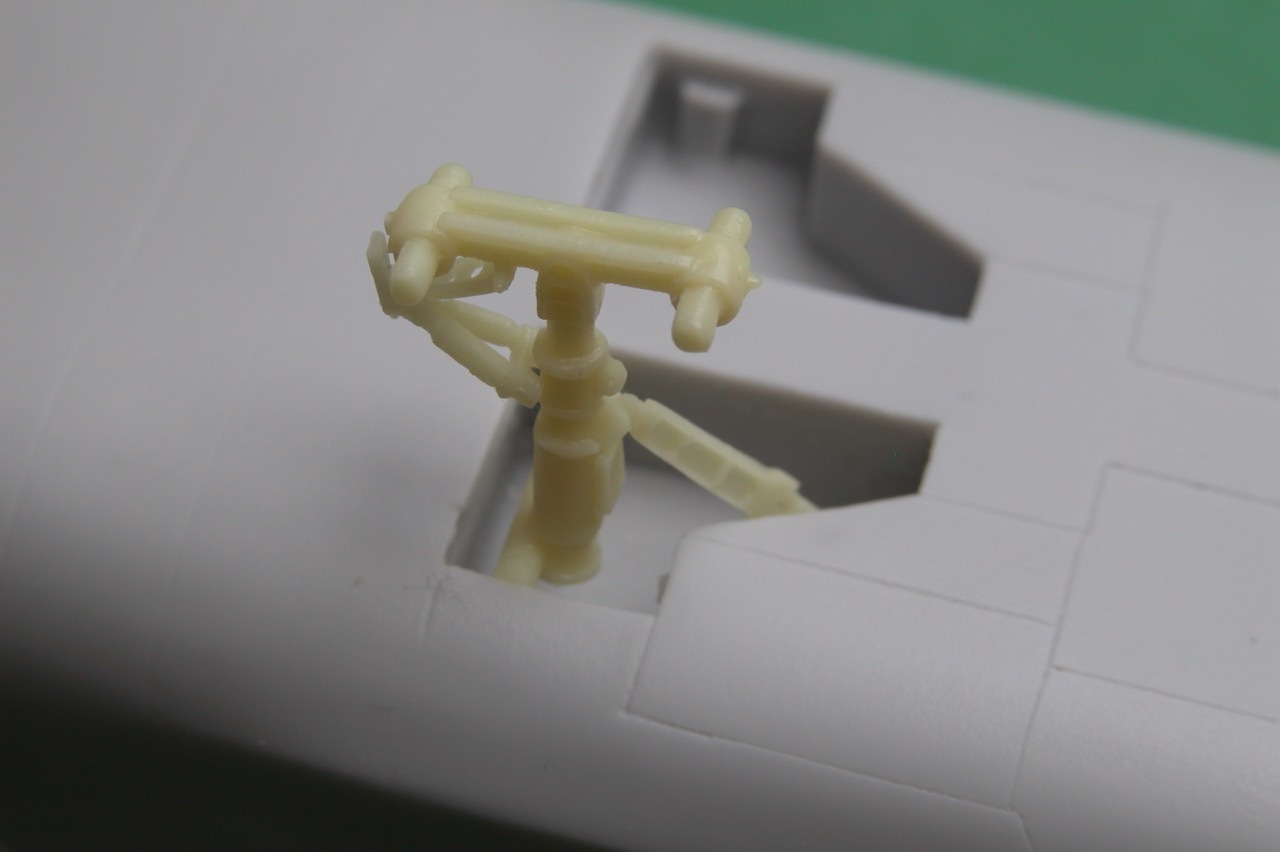
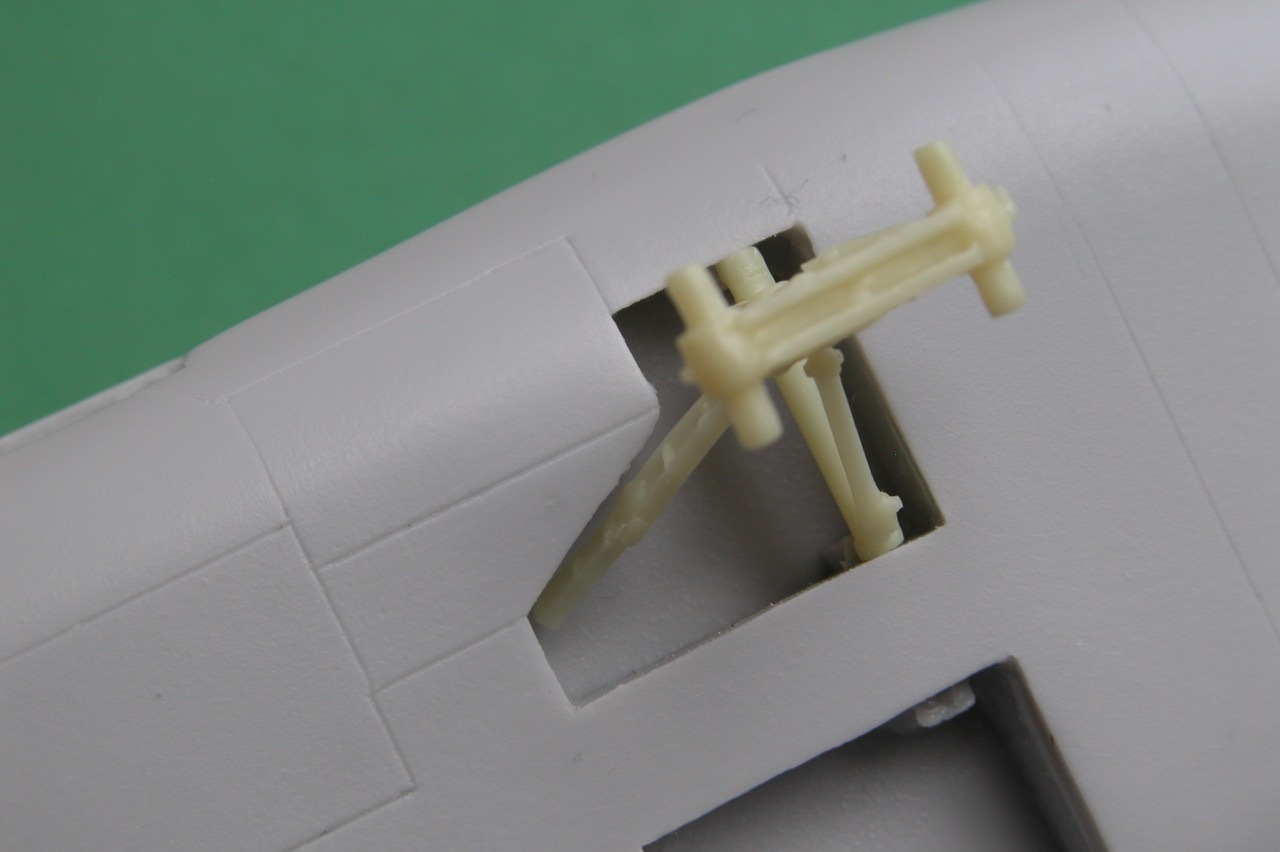
Eventually the parts for the nose gear.
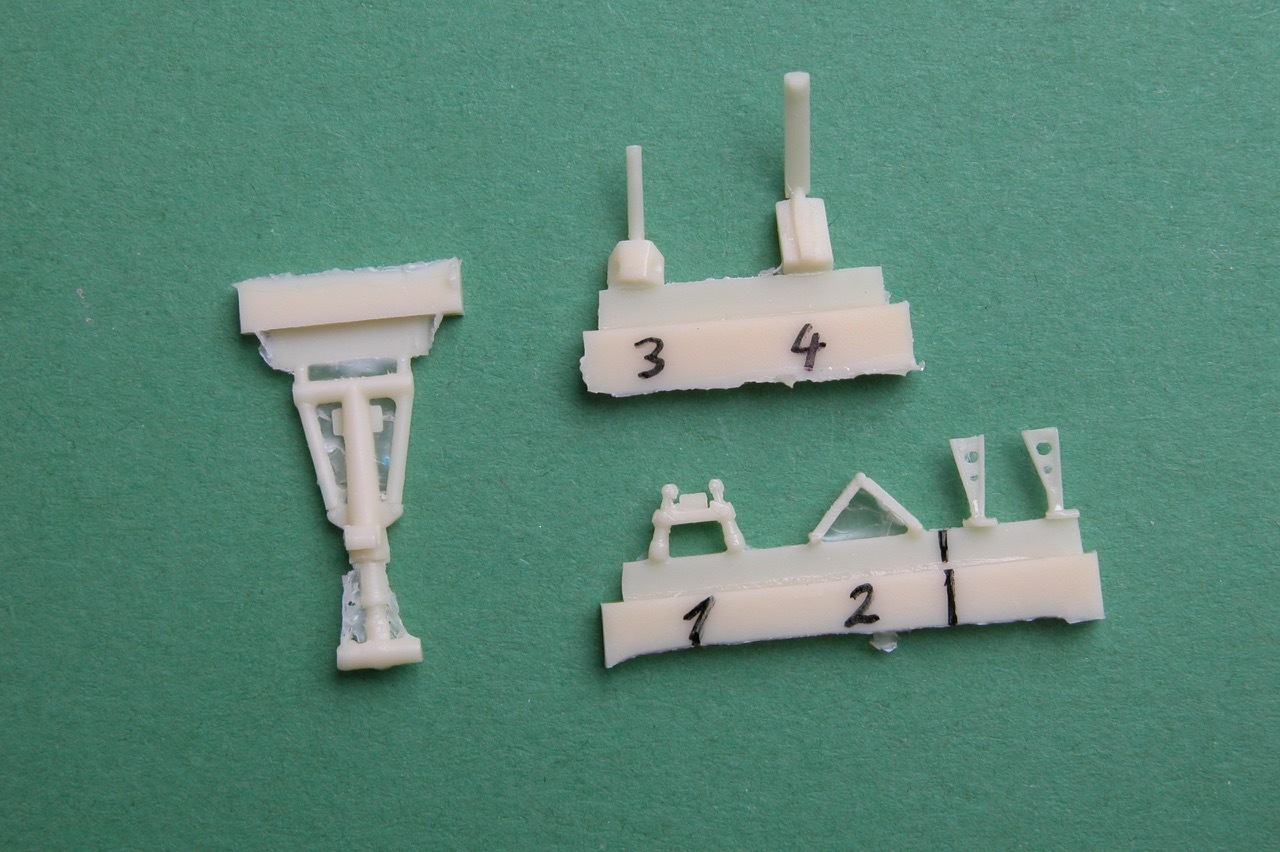
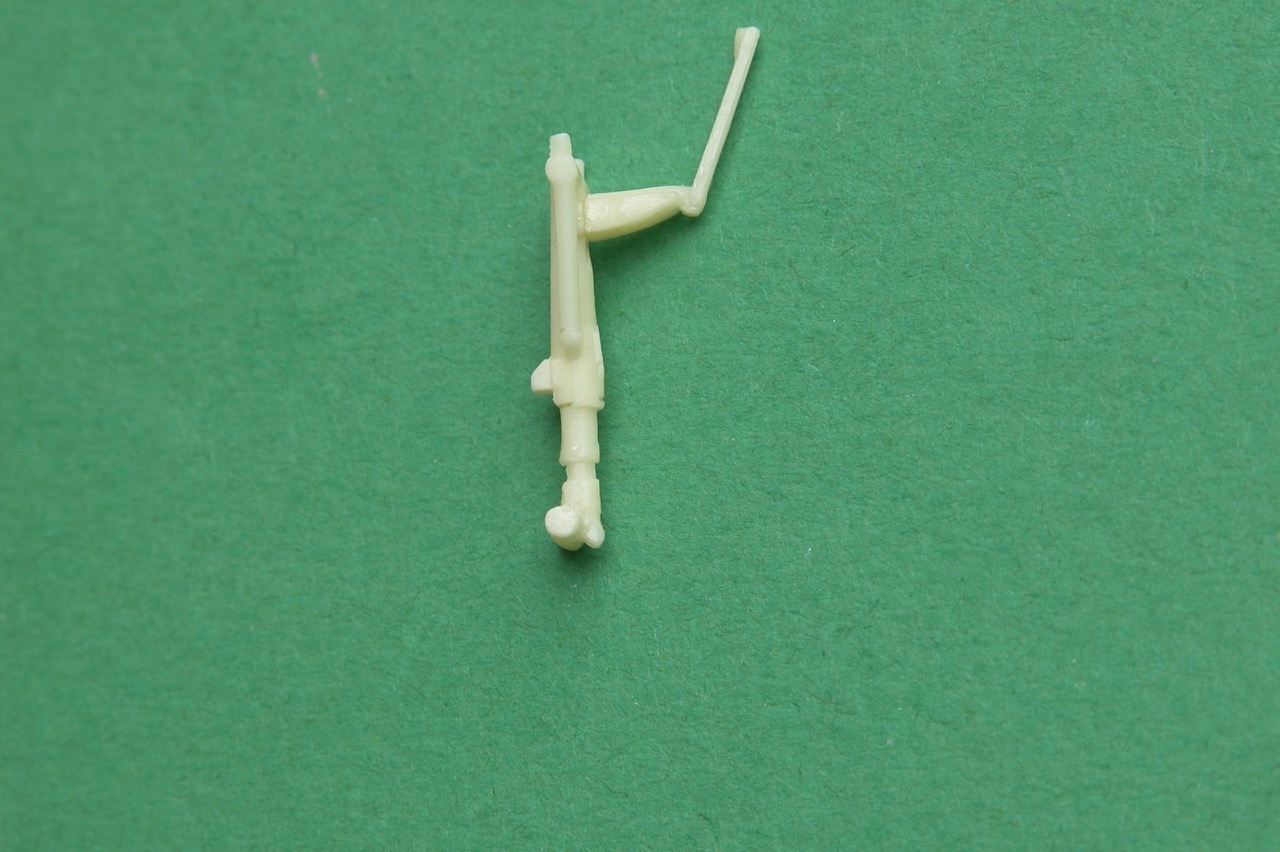
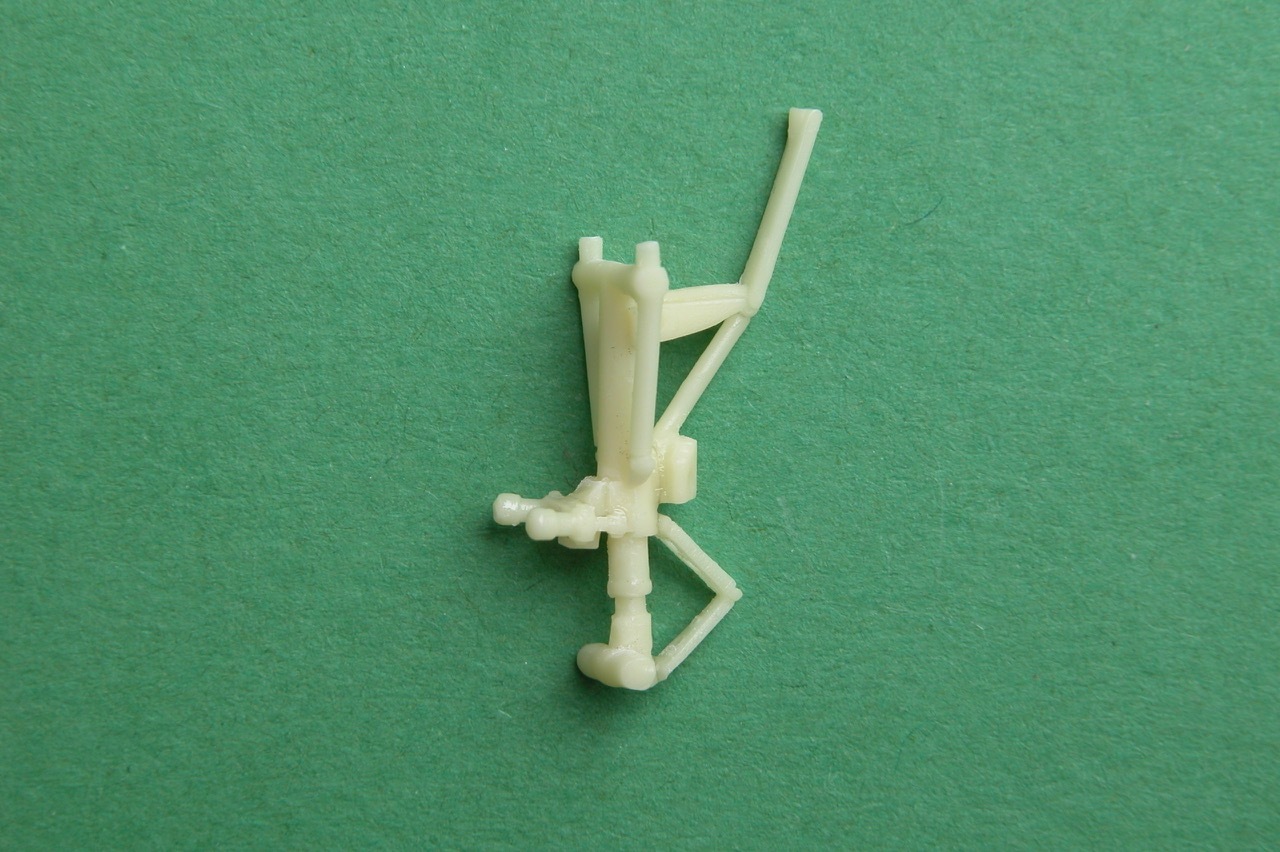
Part 1, the steering cylinders, shall be facing rearward.
I highly recommend to use the fantastic "walkarounds" on this site for cross reference.
Finally, some informations for the landing gear doors.
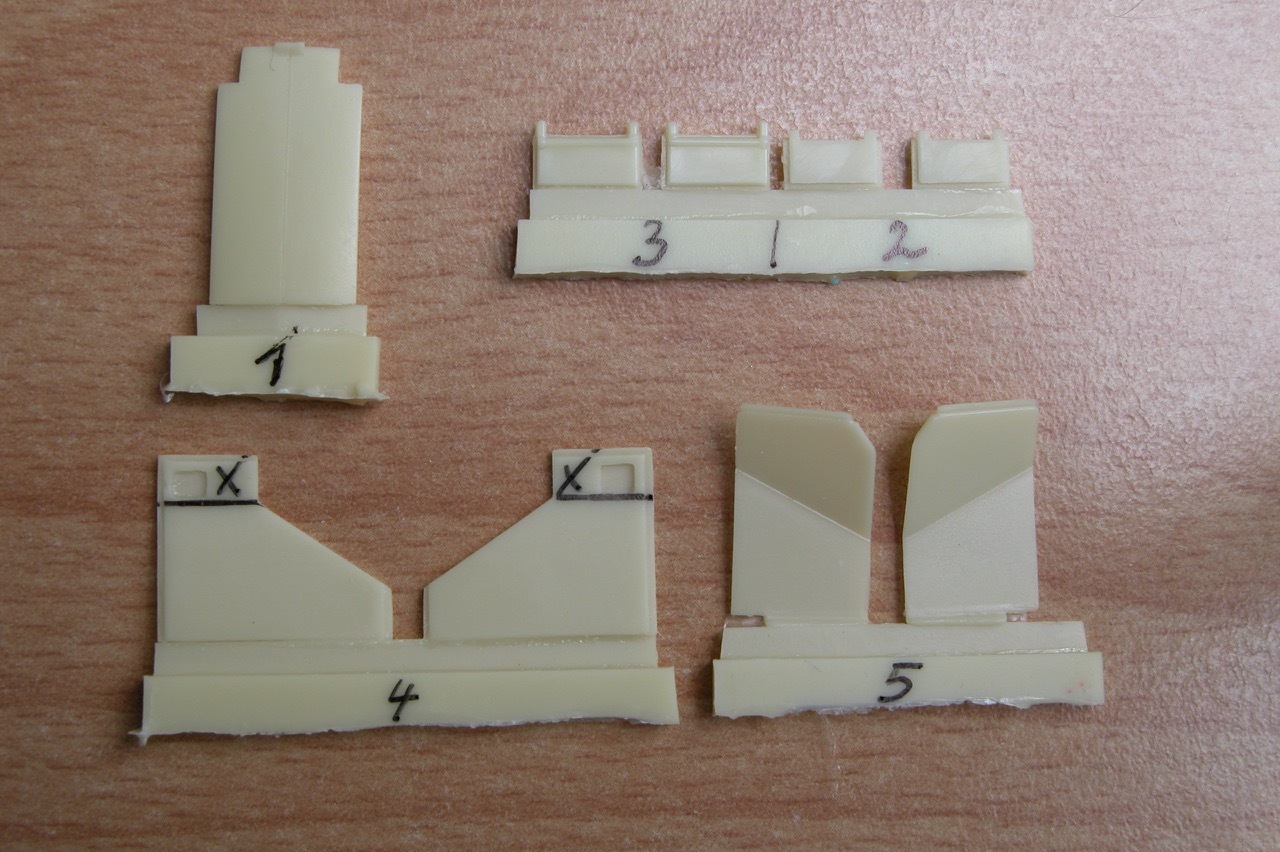
Part 1 are the forward, closed nose gear doors,
while parts 2 are the open nose gear doors.
Parts 5 are the wing gear doors.
Parts 4, the inner center gear doors, had been wrongly designed by me.
At some point during my research I got some wrong information about these parts.
You need to make a cut along the black lines and dispose of the X-marked parts.
Parts 3 are the outer center gear doors.


